Monday, 14 January 2013

For the ladies only

I made my friend's garter last year so tonight's project wasn't *too* experimental.

Rummaging through my craft boxes I found what I required:

- lace 
- ribbon
- elastic cord
- needle and thread and 
- scissors


I threaded the elastic cord through the ribbon and threaded it all back and forth through the holes in the lace.


Sewed all the ends together and ... ta-dah!


Sunday, 13 January 2013

The votes are in...

... and green was the winner.

The ring pillow has now been completed:


Sunday, 6 January 2013

A giant peg

We sell giant pegs in the store where I work. I needed one. Then I needed to figure out what to do with said giant peg so I wasn't constantly asked "Why do you have a giant peg?".


Problem solved:


Oh look, they're kissing...


Monday, 10 December 2012

Place names

Today I started the place name cards. I already knew that it would be quite a time consuming project which is why I started. I now know that anyone with a name longer than 6 letters has to be scratched from the invite list.

The tools for my afternoon of crafting:


I cut little bits of bunting from the felt, stamped them with individual letters and then stuck them onto blank place cards.


The 'definites' have been done and I'll wait until the RSVPs come in before I complete anymore.


I have kept them flat for easier storage. I'm quite fond of them!

Saturday, 1 December 2012

Tissue pom poms

Making tissue pom poms and watching TV are not compatible activities. The noise from me unruffling each layer made the OH reach for the rewind on the remote. The orange one was my first attempt and it's so large that I've been asked to not to make anymore until nearer the date or they'll take over our house!


I took the polite plea to mean that I couldn't make anymore so I've refrained for the moment.


Thursday, 29 November 2012

Pinwheels

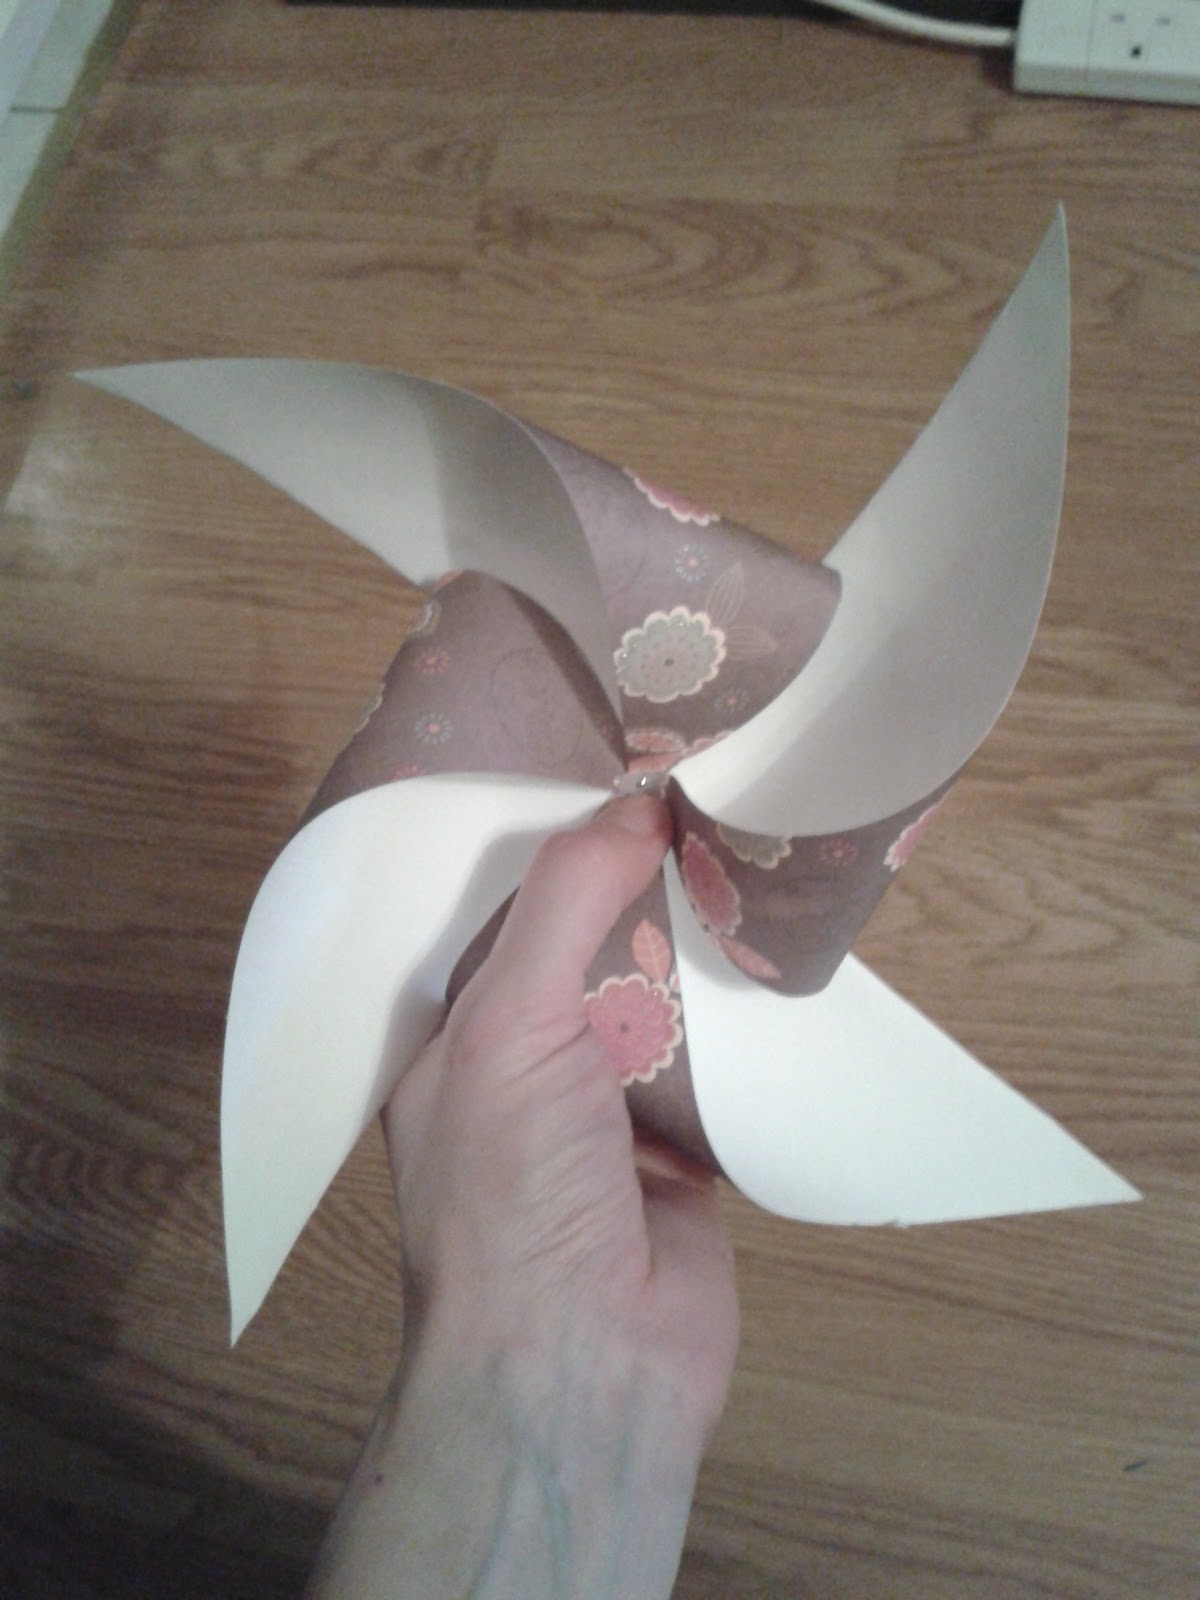
An evening spent watching TV and relaxing with a glass of wine has allowed me to create some pinwheels. I took squares of scrapbook card and folded the opposite corners to each other to form a diagonal cross.


I then measured two-thirds from each corner, made a mark and cut to the mark.


I then folded every second corner into the centre and pinned them together.


The most fun bit was hammering the pin into the wooden dowel.


I've placed a pearl bead between the paper and the dowel to allow it more freedom. A smaller bead will look nice between the head of the pin and the paper.


Fly little pinwheel!

Monday, 19 November 2012

Tealight candle holder

Since my last DIY wedding instalment, I've been to Australia and come back and then went straight into a new job, hence the delay. Let's get to some more crafting!

I've been collecting jars for some time and bought some beautiful decopatch paper which fits in perfectly with my colour theme. These were my supplies for the afternoon:


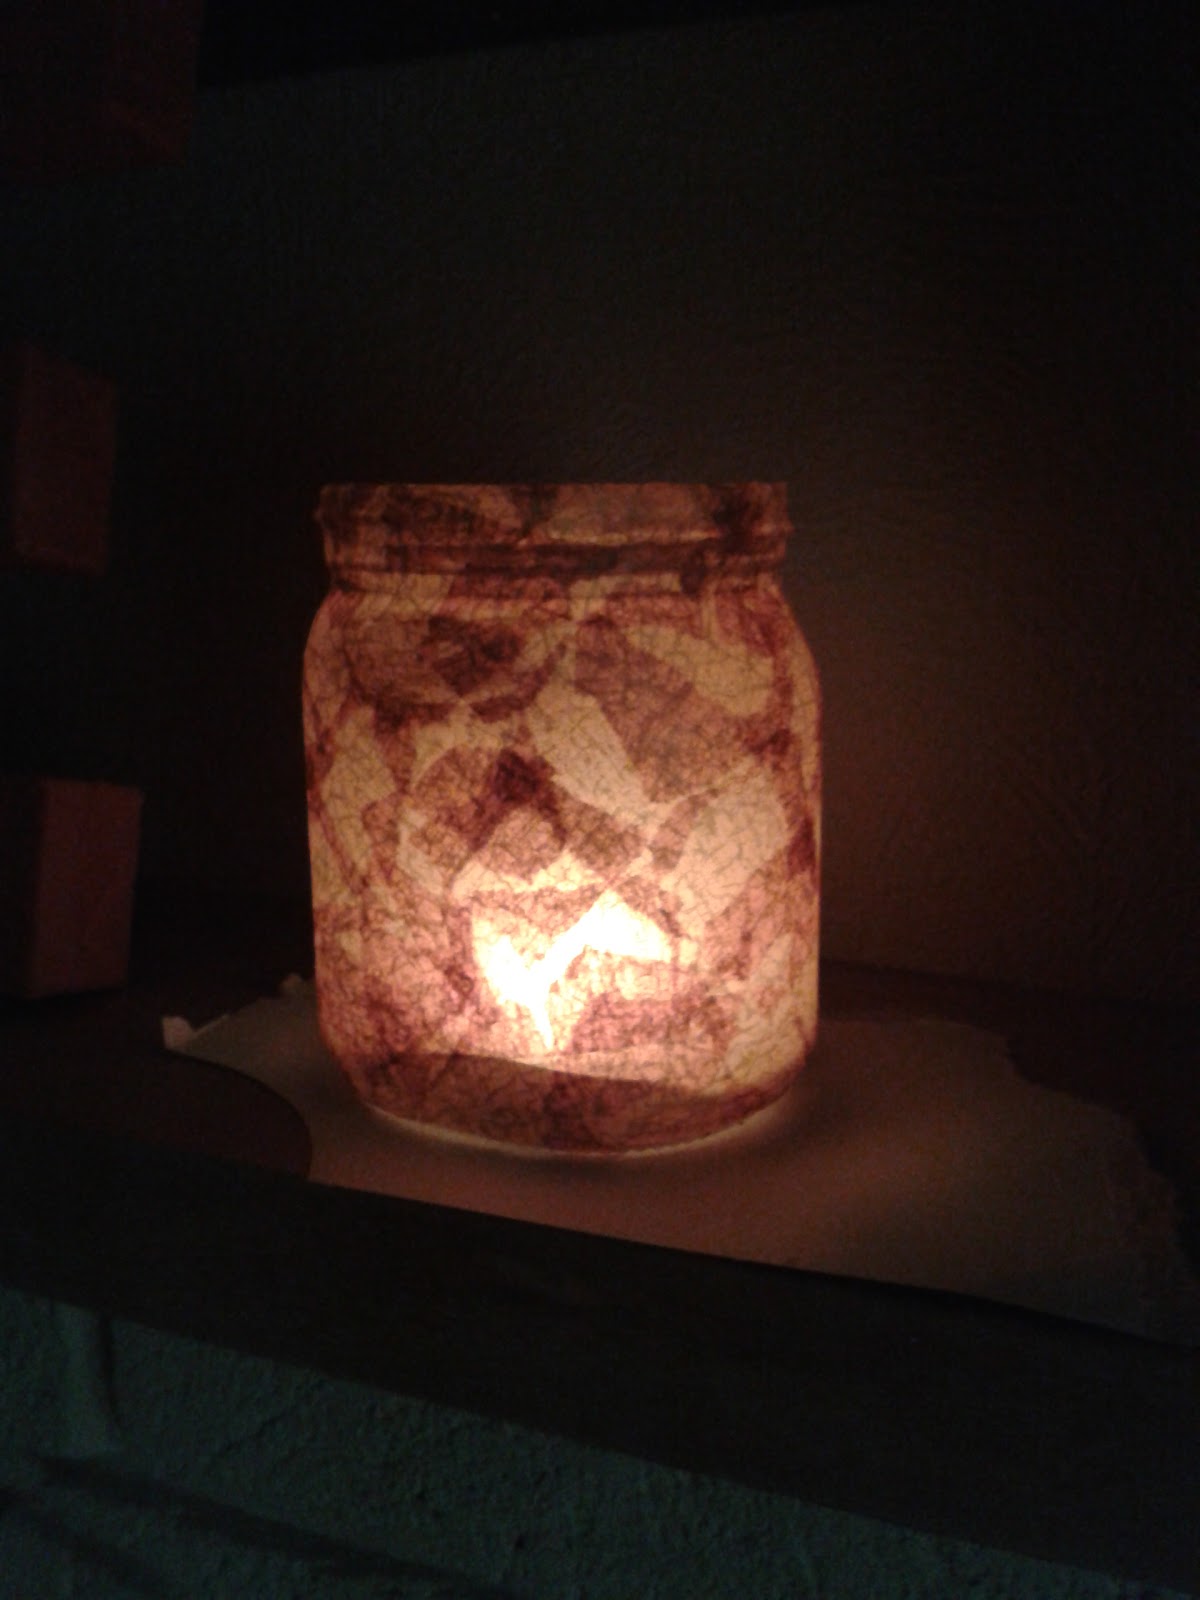
Firstly I put a bit of PVA glue directly on the jar, then a small piece of torn paper and then a little bit more glue to seal the paper and act like a varnish. I did four jars, of all shapes and sizes, this afternoon.


The evening is now upon us so I have put a tealight in my first jar to see how it looks. I really like the effect of the overlapping paper, it reminds me of autumn leaves (and helpful fiance says we could use them at Halloween....).